DragonLIGHT Panel
DragonLIGHT observatory flat panel eliminates DIY light source hassles. Complete kit with 0.9% transmission diffuser and power supply. Covers telescopes up to 20" aperture.

Out of stock - will ship when available
Consistent Flats Without the DIY Hassle
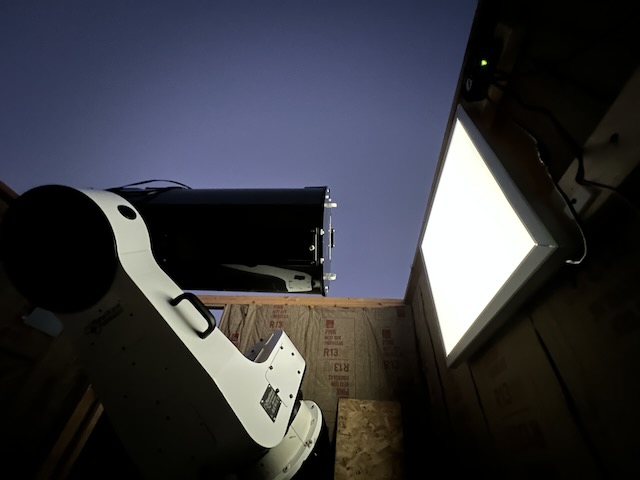
The DragonLIGHT Panel is a wall-mounted LED flat panel designed to work with our DragonLIGHT Controller. It delivers even illumination for calibration frames across telescopes up to 20" aperture-no sourcing your own LEDs, no wiring experiments, no wondering if your light source is compatible. Mount it on your observatory wall, connect it to your controller, and start taking flats.
Why This Panel?
You could source your own 12V LED panel. We even tell you how in our DragonLIGHT Controller documentation-RV puck lights work, LED strips work, plenty of options exist. But there's a difference between "it works" and "it's ready to go."
The DragonLIGHT Panel eliminates the research and guesswork. We've tested it with the DragonLIGHT Controller. The included 0.9% transmission diffuser knocks brightness down to levels that won't saturate your camera even at moderate panel settings. The power supply and cables are included. You're not hunting for compatible connectors or hoping the LED color temperature is suitable for imaging.
We've been selling flat panels for two years now, with dozens in the field-including several at Howling Coyote Remote Observatory in New Mexico. These panels are taking calibration frames on professional imaging rigs night after night. When you'd rather spend your time imaging than debugging a DIY light source, this is the panel that just works.
Key Benefits
Plug and Play with DragonLIGHT Controller
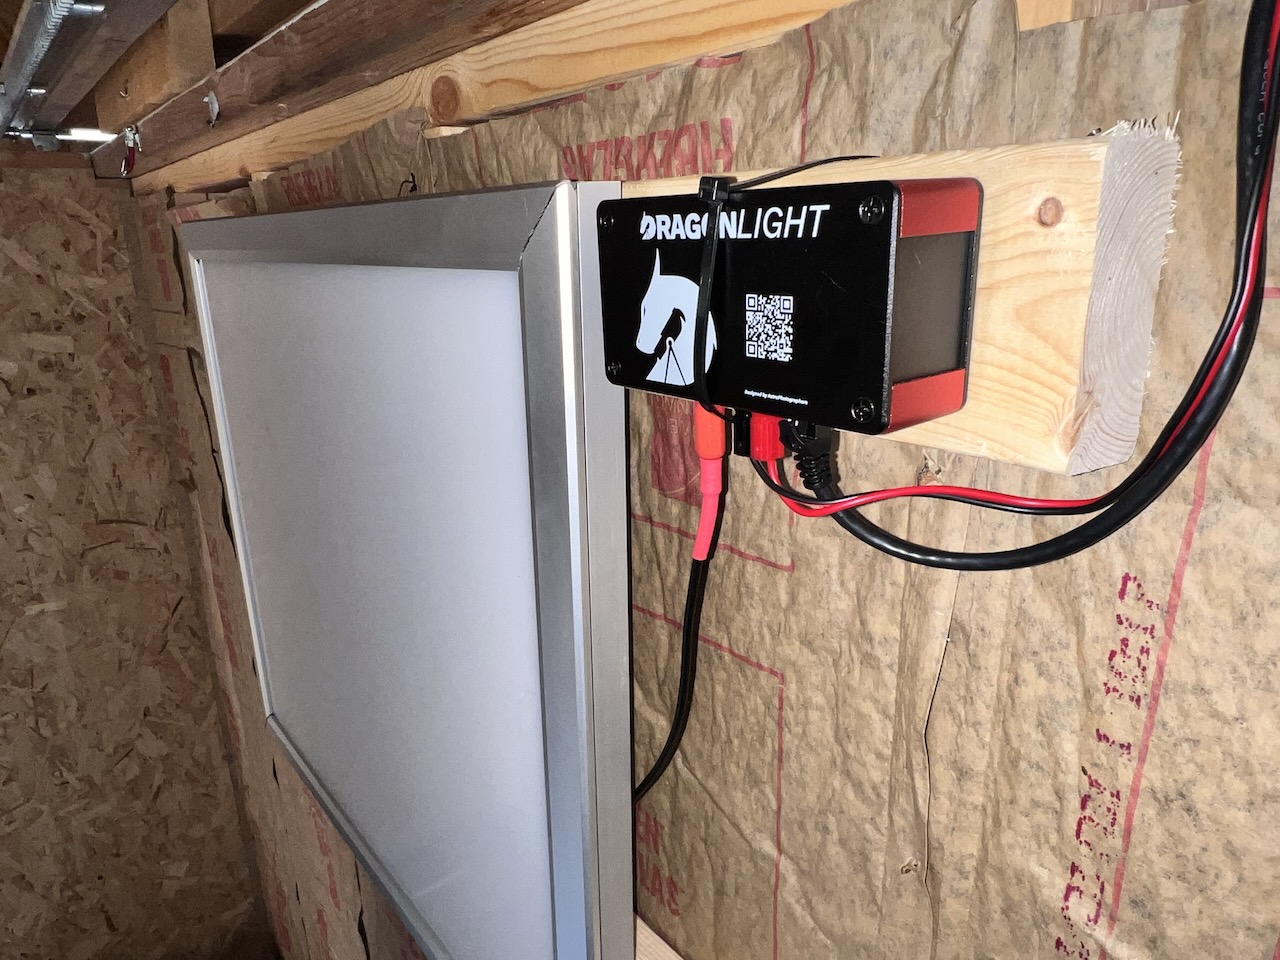
Everything connects out of the box. The panel runs on 12V DC with Anderson PowerPole connectors-the same standard used across the DDA ecosystem. Plug the panel into your DragonLIGHT Controller, and your imaging software controls brightness through ASCOM Alpaca or INDI. N.I.N.A.'s flat wizard works. SGP's auto-flat works. No configuration beyond what you've already done for the controller.
0.9% Transmission Diffuser Included
Raw LED panels are far too bright for flat frames-you'd be shooting millisecond exposures and still saturating. The included acrylic diffuser passes only 0.9% of the light, bringing brightness into a usable range where your imaging software's dynamic brightness algorithms can work effectively. Even illumination, no hot spots, no DIY diffuser experiments.
Wall-Mounted for Multi-Telescope Use
Mount the panel on your observatory wall, and every telescope in the building can use it. Point your scope at the panel, capture flats, done. You're not buying a separate flip-flat for each instrument-one panel can serve your entire operation. For observatories with multiple imaging rigs, this approach saves money compared to per-telescope flip-flat solutions.
Two Sizes for Different Apertures
Choose the panel that matches your telescope:
- 24×24: Covers apertures up to approximately 12"
- 36×36: Covers apertures up to approximately 20"
For apertures larger than 20", we recommend the indirect lighting approach described in our DragonLIGHT Controller documentation-RV puck lights or LED strips illuminating a white surface scale to any size without scaling cost.
Complete Kit-Nothing Else to Buy
The panel ships with everything you need to connect and operate:
- LED panel
- Acrylic diffuser (0.9% transmission)
- AC power supply
- Cable with Anderson PowerPole connectors
Add your DragonLIGHT Controller, and you have a complete flat panel system. No hunting for adapters, no hoping you ordered the right cable gauge, no last-minute hardware store runs.
What's Included
- DragonLIGHT Panel (24×24 or 36×36)
- Acrylic diffuser (0.9% transmission)
- AC to 12V DC power supply
- Cable with Anderson PowerPole connectors
Technical Specifications
| Specification | Value |
|---|---|
| Sizes Available | 24×24, 36×36 |
| Aperture Coverage | Up to ~12" (24×24), up to ~20" (36×36) |
| Voltage | 12V DC |
| Current Draw | <5A |
| Connector | Anderson PowerPole |
| Diffuser | Acrylic, 0.9% transmission |
| Mounting | Wall-mounted (hardware not included) |
| Power Supply | AC to 12V DC (included) |
Integration/Compatibility
The DragonLIGHT Panel is designed as the light source for the DragonLIGHT Controller. The panel itself has no electronics beyond the LEDs-all the smarts live in the controller.
Through the DragonLIGHT Controller, you get:
- 256-level precision dimming (PWM at 20kHz)
- ASCOM Alpaca CoverCalibrator interface
- INDI driver support
- Network control via WiFi or Ethernet
- Web interface for manual adjustment
Compatible imaging software:
- N.I.N.A. (including flat wizard)
- Sequence Generator Pro (including auto-flat)
- Voyager
- TheSkyX
- KStars/Ekos
- Any ASCOM Alpaca or INDI-compatible application
Note: The DragonLIGHT Controller is sold separately and required for automated operation.
Installation/Setup Reality Check
This is one of the simpler installations in your observatory build.
Time required: 15-30 minutes
Tools needed: Drill, screwdriver, level
Skill level: If you can hang a picture frame, you can install this panel
Process: Mark your mounting location on the wall, drill pilot holes, secure the panel, connect the PowerPole cable to your DragonLIGHT Controller, plug in the power supply. Point your telescope at the panel and verify even illumination. Done.
Mounting height: Position the panel where your telescope can point at it from its park position or a convenient flat-taking orientation. Most installations mount at chest or eye height on a wall the telescope can face.
What You Need to Provide
From Dark Dragons Astronomy (sold separately):
- DragonLIGHT Controller - Required for automated brightness control and software integration
You'll also need:
- AC outlet - For the included power supply
- Mounting hardware - Screws and wall anchors appropriate for your wall type (drywall, wood, concrete, etc.)
- Basic tools - Drill, screwdriver, level
Real-World Performance
We've been selling flat panels for two years, with dozens deployed across observatory installations. Several are running at Howling Coyote Remote Observatory in New Mexico, where they're capturing calibration frames on professional imaging rigs alongside our DragonLIGHT Controllers.
The 0.9% transmission diffuser is the key to usable brightness levels. Raw LED panels put out far more light than any camera sensor needs for flat frames. The diffuser brings intensity into a range where exposure times are reasonable and your imaging software's dynamic brightness algorithms have room to work.
For apertures beyond what these panels cover, the DragonLIGHT Controller works with any 12V LED source-the panel is the convenient option, not the only option.
Stop Sourcing, Start Imaging
You didn't get into astrophotography to become an LED lighting expert. The DragonLIGHT Panel gives you a tested, complete flat panel solution that works with the DragonLIGHT Controller out of the box.
Mount it on your wall. Connect it to your controller. Take consistent flats on any telescope in your observatory, night after night, with software automation handling the brightness.
For apertures up to 12": Choose the 24×24 panel
For apertures up to 20": Choose the 36×36 panel
For larger apertures: See our DragonLIGHT Controller documentation for indirect lighting options
Need help? Join our Discord community for installation guides, troubleshooting, and direct support.